ucs
Custom Fonts
Follow this guide to learn how to add a custom font to a website using Google Fonts!
Setup
Follow these steps to set up a new project.
- Click here to go to the Starter project
- Open the index.html file for editing
- Add a
classattribute to the second<p>element that says “Style this paragraph…” - Set the
classto beupdate - Find the
<style></style>element - There, create a new ruleset to style the paragraph by its class
- Use
.updateas the selector - After the selector, add curly brackets (
{and})
- Use
At this point, the added code should look something like this:
HTML
<p class="update">Style this paragraph...</p>
CSS
.update {

}
The project should be ready for styling.
Getting the Font Code
The cool thing about Google Fonts is that it will provide all the code needed to add the custom font. The first step is to copy that code.
Copying the @import
First, copy the @import code for a selected font.
- Click here to go to Google Fonts
- Search through and find a nice font to use
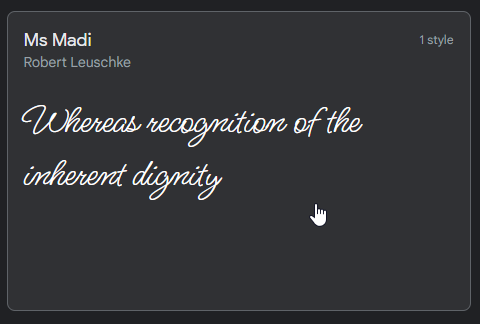
- For example, Ms Madi
- Click on the desired font
- Scroll down on the page, and find the “Regular 400 ⊕” button
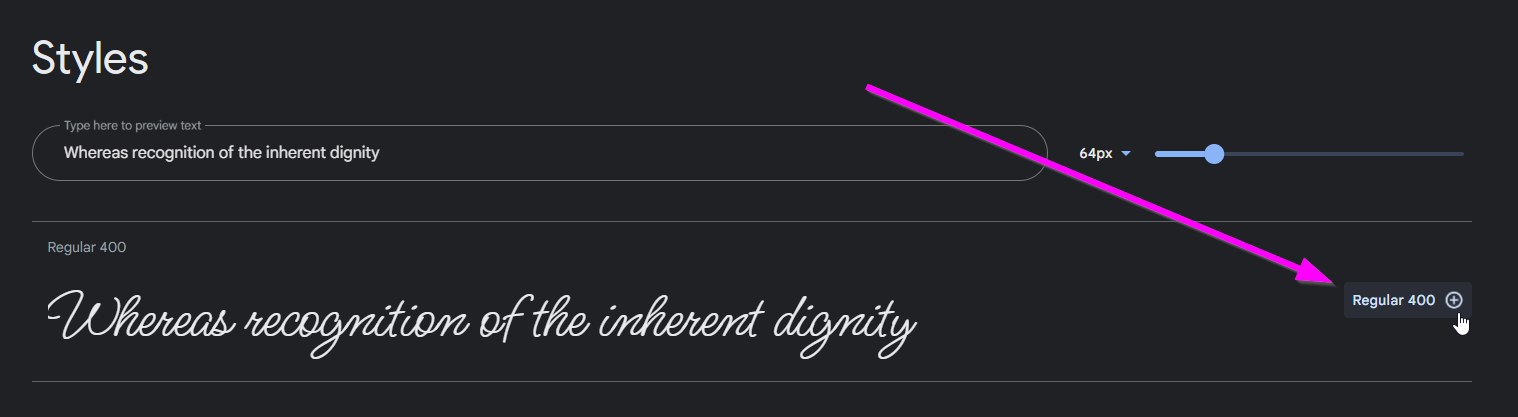
- The “Selected family” pane should appear on the right
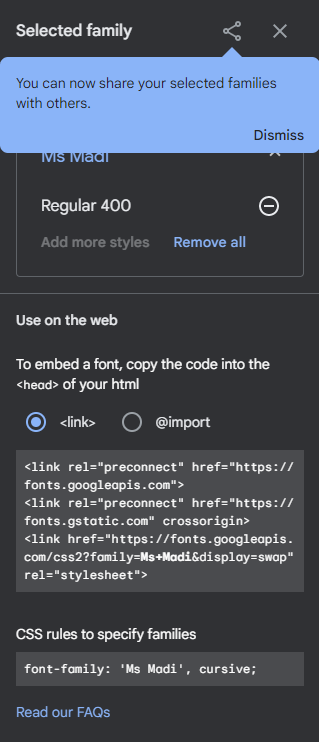
- In that pane, under the “Use on the web” section, click the “@import” selector
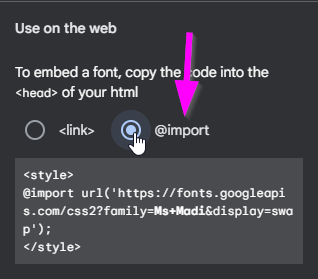
- Highlight the code within the
<style></style>tags (starting with@import) and copy it
- Go back to the Glitch project, and open the index.html file for editing
- Make space at the very top of the
<style></style>element, and paste the code (starting with@import)- This should be above any ruleset, outside of any
{and}
- This should be above any ruleset, outside of any
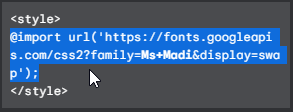
The code at the top of the <style></style> element should end up looking something like this:
@import url('https://fonts.googleapis.com/css2?family=Ms+Madi&display=swap');
Copying the font-family Property
Now that the font has been imported, it will be possible to use it in the CSS!
- Go back to Google Fonts
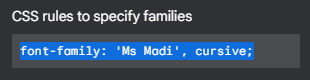
- Back in the “Selected family” pane, find the “CSS rules to specify families” section
- In there, highlight and copy the code starting with
font-family:
- Go back to the Glitch project, and open the index.html file for editing
- Within the
.updateruleset, (between{and}), paste the code (starting withfont-family)
That should be it! Try running the project and viewing the page. The <p> element should be styled with the new font!
The code should end up looking something like this:
@import url('https://fonts.googleapis.com/css2?family=Ms+Madi&display=swap');

.update {
  font-family: 'Ms Modi', cursive;
}